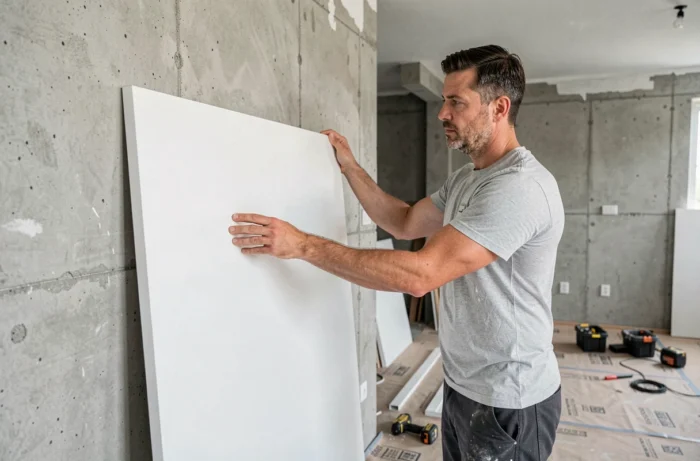
The Roth Vipanel wall panels allow you to dress up a bathroom without resorting to traditional tiling. Their edge-to-edge installation, with or without profiles, simplifies the project and reduces installation time. However, it is essential to properly prepare the substrate and choose the right fixing method according to the room’s configuration.
Compatibility of substrates: what the existing wall requires before installing Vipanel
Before applying the polymer adhesive, the nature of the wall determines everything that follows. A Vipanel wall panel can be directly glued onto a stable, uniform, healthy, and dry substrate. On a standard plasterboard (BA13), the surface is suitable as long as it does not show any blisters or signs of old moisture.
Highly absorbent substrates, such as raw plaster or certain porous cement coatings, require the application of a primer. Without this step, the polymer adhesive loses its grip, and the panel may peel off after a few months, especially in a shower or near a water point.
Are you renovating a bathroom with existing tiles? Installation over old tiles is possible if the tiles are securely adhered. Check by tapping: a hollow sound indicates a loose tile that needs to be removed or leveled. An unstable substrate compromises the panel’s adhesion, regardless of the quality of the adhesive used.
For a step-by-step guide on the fixing method, the tips for installing Vipanel panels detail each phase of the gluing process on different types of walls.
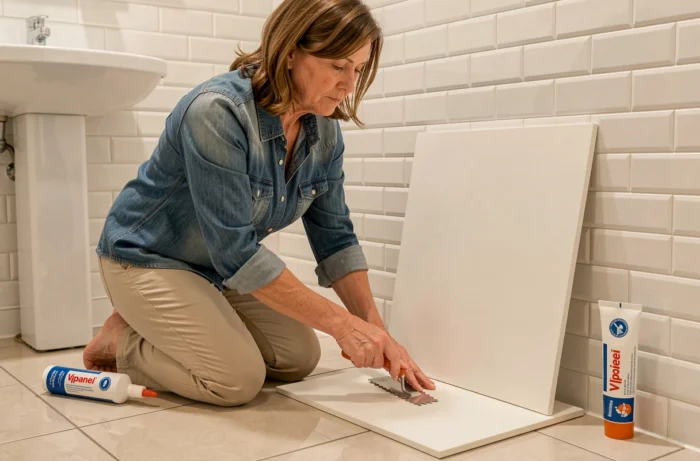
Installation without profiles of Vipanel panels: milling technique and limits to know
The uniqueness of Vipanel panels lies in the possibility of installing them edge-to-edge and creating corners without visible profiles. The result is clean, without visible strips, giving a sleek look to the bathroom. This technique requires a precise tool: a milling machine (such as Festool PF 1200, Mafell MF 26cc, or Makita CA5000XJ).
How the profile-free joint works
The milling machine carves a V-groove on the edge of the panel. Once the two panels are assembled edge-to-edge, the joint becomes nearly invisible. The fine double-sided tape ensures lateral support while the polymer adhesive dries on the back.
The first limitation to anticipate: this method is not suitable for glossy Vipanel finishes. The Roth assembly instructions explicitly state this. On a glossy panel, milling damages the surface layer and leaves a visible mark at the joint. For these finishes, connecting or corner profiles remain the only clean option.
Profiles or not: how to choose
- Matte or textured panel: profile-free installation works, provided you have a suitable milling machine and a guide rail for straight cuts
- Glossy panel: installation with profiles is mandatory (interior, exterior corner, connecting, or finishing profile depending on the configuration)
- Outgoing corner (a wall that forms a corner outward): the exterior corner profile secures the joint even on matte versions, as the mechanical stress is greater there
Choosing between installation with or without profiles depends on the decor and the geometry of the wall, not on an isolated aesthetic preference.
Waterproofing and humidity: preparing the shower area without unpleasant surprises
A Vipanel panel is not a waterproofing system in itself. It protects the wall from water splashes, but the joints between panels and the connections with the shower tray or plumbing remain sensitive points.
Transparent silicone applied to the joints ensures final waterproofing. Use a sanitary silicone compatible with humid environments. The bead must be continuous, without interruption, especially in interior corners where water tends to stagnate more easily.
Before gluing, remove the protective film from the back of the panels. Glossy Vipanel panels also have a film on the front, which should be removed before installation. Forgetting this film prevents the adhesive from bonding properly and creates a pocket of moisture between the wall and the panel.
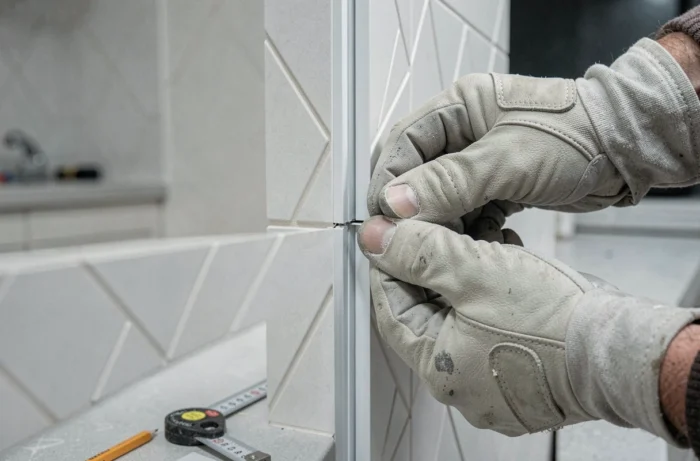
For cuts around water inlets, a hole saw or jigsaw equipped with a metal blade allows for clean drilling without cracking the panel. Mark your points with marking tape rather than a pencil: tape removes without leaving residue on the decorative face.
Indoor air quality and wall panels: a often overlooked criterion
Installing panels in a closed and humid room like a bathroom raises a question rarely addressed in installation tutorials: emissions of volatile organic compounds (VOCs). European regulations are gradually tightening requirements on formaldehyde present in panels, glues, and adhesives used in interior design.
Check the VOC emission class of the panels and the polymer adhesive before purchasing. In France, construction and decoration products carry a label ranging from A+ (very low emissions) to C (high emissions). Always prioritize class A+, especially in a poorly ventilated bathroom.
The polymer adhesive used to fix the Vipanel must also meet this threshold. A low-quality adhesive can emit VOCs for several weeks after installation, in a room where ventilation is often insufficient.
Handling and cutting large Vipanel formats
The largest panels are easier to handle with two people, as recommended by Roth. Two transport suction cups allow you to move and position the panel without bending or putting pressure on the edges.
For cutting, a plunge saw equipped with an aluminum blade (negative attack angle) provides the cleanest cuts. An unsuitable blade can cause chipping on the decorative face of the panel. The guide rail ensures a straight cut along the entire length.
- Plunge saw with aluminum blade: straight cuts along the length
- Jigsaw with metal blade: curved cuts or adjustments around obstacles
- Hole saw: drilling for pipe or plumbing passages
- Angle grinder or metal saw: cutting profiles (if installing with profiles)
A fine quarter-round file can smooth the edges after cutting, especially at the profile-panel junction where a sharp edge could cause injury during regular maintenance.
Maintaining Vipanel panels is limited to cleaning with a non-abrasive product. Textured decors withstand micro-scratches better than glossy finishes, a criterion to keep in mind when choosing the style for your bathroom project.