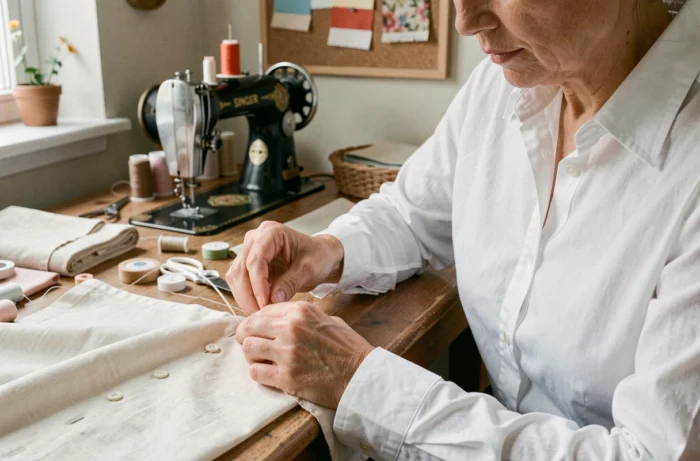
Creating a neat buttonhole on a hand- or machine-sewn garment presents a recurring problem: the moment when you cut the thread, and then the moment when you open the slit. These two actions concentrate the majority of mishaps, with threads fraying and stitches coming undone after the first wash. Working on the buttonhole without cutting the threads alters the usual sequence and shifts the risk towards preparation rather than finishing.
Thread anchoring and reinforcement stitch before opening the buttonhole
Most tutorials detail sewing the rectangle of stitches and then go straight to opening it with a seam ripper. The most neglected step is between these two moments: anchoring the threads before any manipulation of the slit.
On a classic machine buttonhole, the bobbin thread and the upper thread cross at both ends of the rectangle. If you cut these threads short before opening the buttonhole, the first pass of the button is enough to pull on the bar tack and create looseness.
The no-cut technique involves leaving the threads long, bringing them to the back of the fabric with a hand sewing needle, and then tying them together directly against the fabric.
This anchoring knot serves the same function as a backstitch, but it remains invisible on the right side. You will also find tips for buttonholes without cutting the threads that detail this method step by step.
To further reinforce, a doubled thread passed manually around the bar tack forms a small stem that stiffens the end. This thread stem prevents loosening after repeated washing. On coats or jackets made of thick fabric, it makes the difference between a buttonhole that lasts several seasons and one that gapes after a few weeks.
Comparison of buttonhole techniques by fabric type
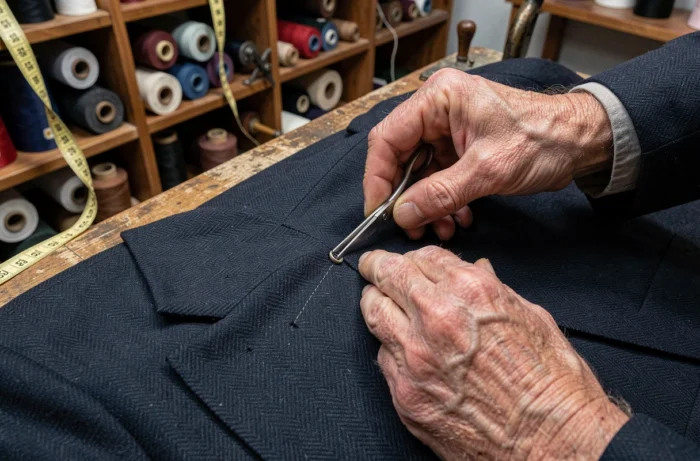
The choice of method depends less on the skill level of the sewer than on the fabric being worked. Here is a comparison of common approaches, categorized by fabric thickness.
| Fabric Type | Recommended Technique | Main Risk | Cut or Not Cut |
|---|---|---|---|
| Fine Cotton (shirt) | 1-step automatic buttonhole | Quick fraying if thread cut too short | Not cut, anchored on the back |
| Medium Linen (dress, tunic) | Automatic buttonhole + reinforced bar tack | Fabric distortion under the foot | Not cut, doubled thread stem |
| Thick Wool (coat) | 4-step or manual buttonhole | Thickness under the buttonhole foot | Not cut, flat knot on the back |
| Stretch Jersey | Stabilized buttonhole (interfacing + uncut thread) | Stretching of the bar tack | Not cut, prior fusible interfacing |
The table highlights a point that general guides often overlook: on thick fabric, the real issue is not the thread but the thickness under the foot. Multiple layers prevent the buttonhole foot from gliding smoothly, resulting in uneven stitches. Cutting the thread does not solve anything in this case. However, reducing the thickness by locally trimming the seam allowances under the buttonhole significantly improves the result.
Adjustment of the buttonhole foot and management of button size
The automatic buttonhole foot includes a rear slot where the button is placed to calibrate the length of the slit. This mechanical adjustment seems basic, but an error of one or two millimeters changes everything.
A domed button takes up more space than a flat button of the same diameter. If you set the foot based solely on the diameter, the buttonhole will be too short to allow the button to pass through without forcing it. Measure the diameter plus the thickness of the button to get the actual length needed.
Before sewing on the garment, test on a scrap of the same fabric, folded to the same number of layers. This test allows you to check three things:
- The consistency of the zigzag stitches on each side of the slit, which should be identical on the left and right
- The strength of the bar tacks at both ends, which should withstand moderate pulling by hand
- The passage of the button without forcing or floating, indicating that the length is correct
If the bar tack seems weak on the scrap, add a manual reinforcement pass before opening the slit. This action takes a few seconds and prevents the need to unpick a poorly made buttonhole on the finished garment.
Opening the slit without damaging the stitches
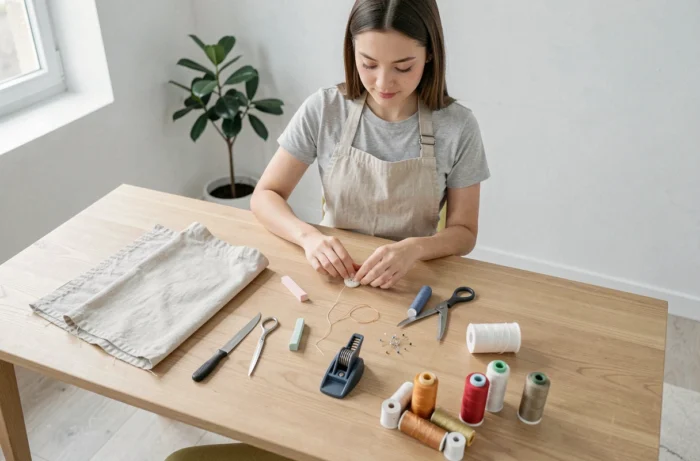
Opening remains the riskiest moment, even when the threads are well anchored. The seam ripper easily slips past the bar tack if too much pressure is applied.
A safer method involves inserting a pin across the fabric, just in front of the bar tack, at each end. The pin acts as a physical stop for the seam ripper. You can then slice the fabric between the two pins without risking going beyond the sewn area.
On fabrics that fray easily (linen, viscose), apply a micro-drop of clear thread lock on each bar tack before opening. The product dries in a few minutes and sets the fibers without stiffening the fabric. This precaution effectively replaces cutting the threads as an anti-fraying method.
Common mistakes to avoid with machine buttonholes
Some mistakes consistently occur, regardless of the sewing machine model used.
- Forgetting fusible interfacing on soft or stretchy fabrics, which distorts the buttonhole from the first use
- Cutting the bobbin threads flush with the fabric before anchoring them, preventing any securing knot on the back
- Not lowering the buttonhole lever (found on most home machines), which skews the automatic length calibration
- Pulling the fabric during sewing instead of letting the foot feed it alone, which creates uneven stitches
Each mistake can be corrected before opening the slit, not after. A buttonhole with uneven stitches should be unpicked and redone on the fabric scrap. Trying to fix a poorly sewn buttonhole by sewing over it creates a visible lump.
A buttonhole without cutting the thread is not a shortcut. It is a workflow sequence that prioritizes securing the stitch before opening, and testing on a scrap before the final sewing. The intact thread remains your best indicator of durability as long as the buttonhole has not been tested with the actual button.